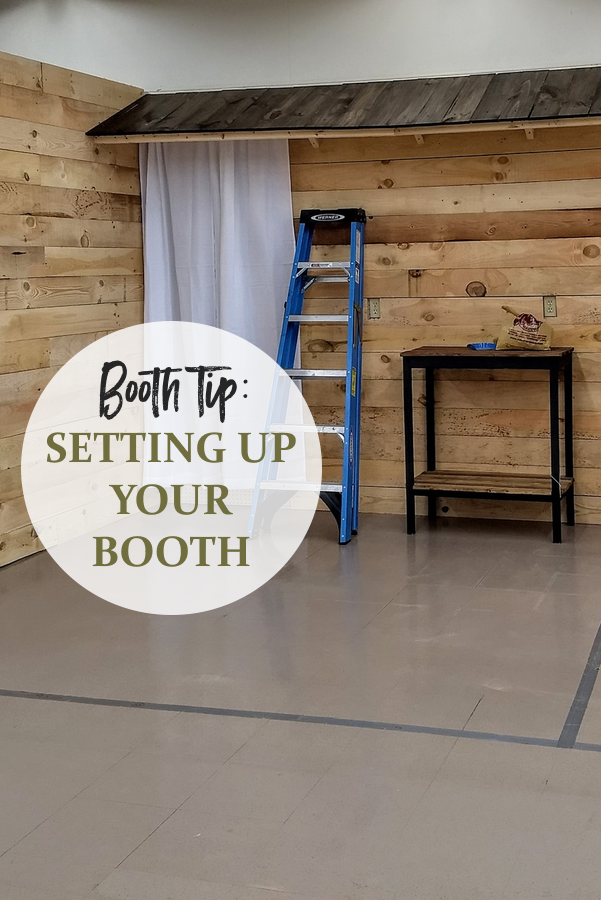
So, you have decided that you want to have an antique booth. A few weeks ago we covered How To Start A Booth. Now I want to share HOW to set it all up. Figuring out how to go about filling the booth can feel overwhelming. Today I am going to share all my little tips on how to set up a booth in a co-op store. My hope is that these little tips will make YOUR process a little easier.

preparation
Here’s some things that you can do at home to get a head start before you actually go into your booth to set up.
- Map out your booth – plan out where you want everything to go, especially your furniture. Don’t forget about your focal point!
- Walls – Are you covering your walls, adding walls or painting walls? Plan the build and make a list of supplies.
- Tag your items – Tag all of your items beforehand to save time. Don’t forget to check with your store or your contract for tag requirements such as what goes on the tags.
- Purchase staging pieces; furniture and risers (to give your vignettes more depth)
- Make a marketing sign for your booth to advertise your business and let customers know your social media accounts.
- Invest in renter’s insurance
supplies to take along
- hammer, nails, screws, drill, tape measure, small level
- extra tags, scissors, a pen
- extension cord if needed
- lumber if building walls
- paint, rollers, brushes, drop cloth, painter’s tape if painting your walls
- burlap or other wall coverings if covering walls/peg board
- Peg hooks if you have peg board walls
- hand truck, dolly, wagon or a helper or two to help move heavy furniture
- broom and dustpan unless your store supplies these
- any licenses you may be required to display
- your map of where your items will go.
setting it up
After parking in your store’s appropriate vendor parking area, tackle your walls. Whether you’re painting, building or covering them, do them first.
Next, set up your focal point. Once that’s in place, look at your map of where your items go and start assembling your booth.
Once you’ve added everything, take a step back, perhaps into the isle, and make sure everything looks alright, cohesive, and not too cluttered. Also, be sure not to encroach onto your fellow vendor neighbor’s space.
Once you’re done, be sure to take pictures of your booth. Take them from multiple angles, covering all walls. Don’t forget to highlight a few products in your photos.
Share your photos on your social media pages and with your family & friends. Check with your store and see if they’ll share your images when you post them on social media or if they’ll take their own and share to their social media pages.
Congratulations on your new adventure!